
Table of Contents
ToggleKitchen cabinets can turn into a black hole fast. One day they’re organized, the next you’re digging through three layers of plastic containers to find a measuring cup. A well-organized kitchen cabinet system saves time, reduces food waste, and actually makes cooking feel less stressful. This guide walks through the process of assessing current storage, culling unnecessary items, selecting the right organizational tools, and maintaining the system long-term. Whether someone’s dealing with cramped apartment cabinets or a sprawling kitchen, these practical steps apply to any space.
Key Takeaways
- Measure your cabinet dimensions and assess lighting before purchasing organizers to ensure solutions fit your specific kitchen cabinet layout.
- Pull everything out, declutter ruthlessly by removing expired items and duplicates, and clean shelves thoroughly to create an organized foundation.
- Arrange items by frequency of use—daily items at eye level, weekly items in secondary spots, and seasonal items in harder-to-reach areas.
- Invest in smart storage solutions like tiered risers, sliding organizers, lazy susans, and clear containers to maximize vertical space without overcrowding.
- Use waterproof labels to mark container contents and expiration dates, then establish a three-month maintenance routine to prevent your kitchen cabinet organization system from deteriorating.
- Leverage overlooked spaces like cabinet doors, the area above cabinets, and corner organizers to nearly double storage capacity and keep frequently used items accessible.
Assess Your Current Kitchen Cabinet Layout
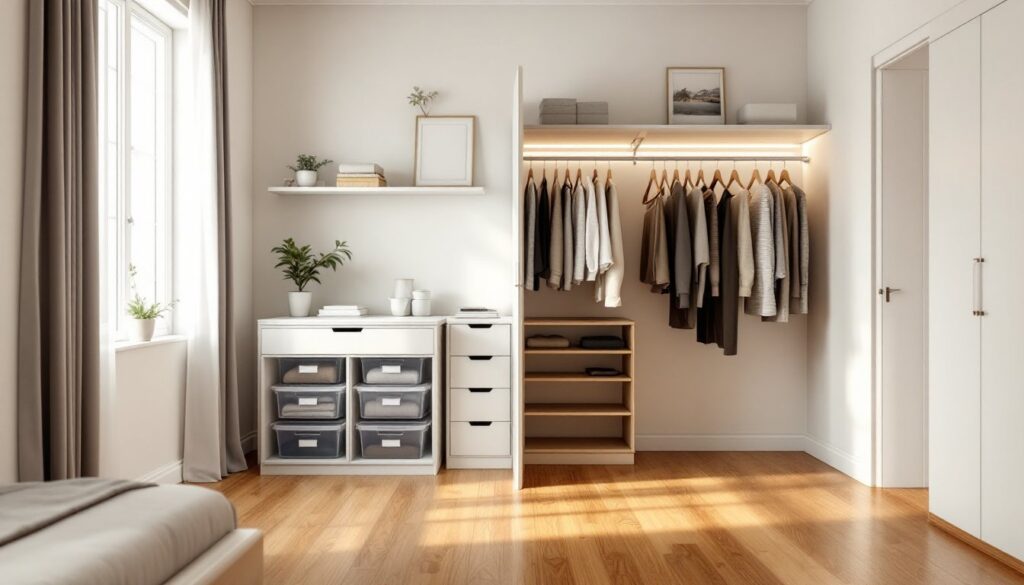
Start by opening every cabinet door and really looking at what exists. Take note of cabinet dimensions, shelf depth, shelf height, and any fixed dividers or oddly-shaped interior features. Measure the width and height of each cabinet opening, and note whether shelves are adjustable or fixed.
Understanding the anatomy of the cabinets matters because it shapes what solutions will actually fit. A shallow corner cabinet behaves differently than a deep base cabinet. Some cabinets have wasted vertical space at the top: others have undersized shelves that don’t accommodate standard kitchen items. Take photos or sketch rough dimensions, this becomes your reference when shopping for organizers.
Also assess lighting. Dark, deep cabinets are tougher to navigate visually. Some people add small battery-operated LED strips inside cabinet doors or on the underside of shelves for visibility. This isn’t essential but it’s one of those improvements that pays dividends every time someone reaches in looking for spices.
Sort and Declutter Your Cabinet Contents
Pull everything out of your cabinets. Yes, everything. Yes, all of it.
Separate items into categories: everyday dishes, seasonal items, small appliances, food storage, baking supplies, spices, and anything else that lives there. As items come out, check expiration dates on spices (most lose potency after three to four years) and discard dried goods past their prime.
Ask hard questions about duplicate items. Five measuring cup sets? Two blenders? If something hasn’t been touched in a year and isn’t sentimental or rare, it’s a candidate for removal. The goal is to keep only items that actually get used or items genuinely worth the real estate they consume. This is the biggest opportunity to reduce clutter without buying a single organizer.
Once culled, wipe down the cabinet interiors with a damp cloth. Remove old shelf liner if it’s deteriorating, and clean the shelves thoroughly. Any sticky spots, dust, or residue should go. You’re creating a blank canvas for the new system.
Choose the Right Storage Solutions and Systems
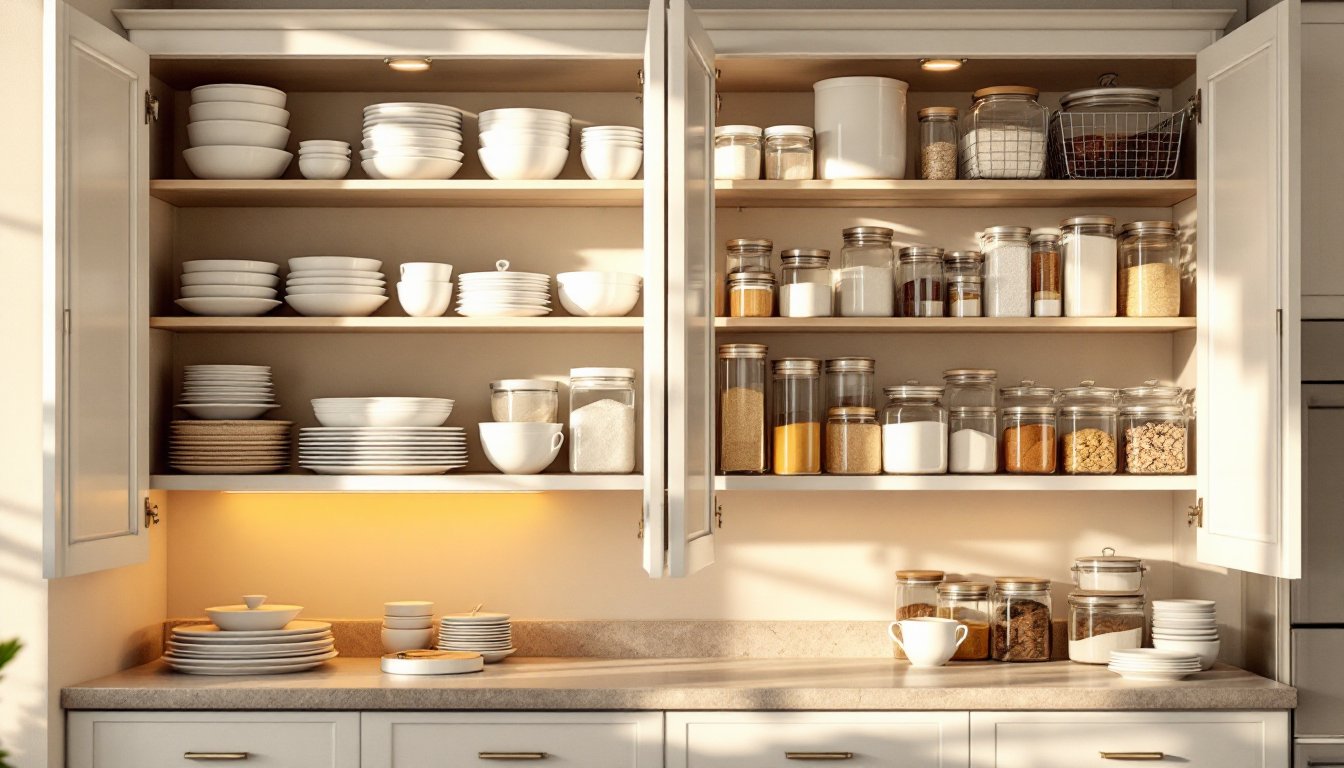
There are dozens of organizing products on the market, but not all are worth the investment. The best solutions solve a specific problem in your kitchen. Common helpful tools include shelf risers or tiered shelf risers to stack plates or bowls vertically: stackable sliding organizers for under-cabinet storage: pull-out drawers or baskets for deep cabinets where items disappear in the back: lazy susans or rotating organizers for corner cabinets and spices: and clear containers for bulk items or baking supplies.
When selecting organizers, measure your cabinet shelf depth and height carefully. Many organizers look great in photos but are either too wide, too tall, or don’t account for uneven shelving. Clear or semi-transparent containers let you see contents without opening them, which saves time and reduces the chance of buying duplicate items.
Budget-conscious organizers work fine, dollar stores carry basic bins, dividers, and liners. Pricier systems from specialty kitchen organizers offer more durability and refined finishes but aren’t always necessary for function. Choose based on cabinet size, the type of items being stored, and how much money makes sense to spend on improvement.
Arrange Items by Frequency and Zone
Organize cabinets around how often items are used. Items used daily, everyday plates, glasses, cooking utensils, coffee mugs, should live in the most accessible cabinets: eye-level or just below. Items used weekly go in secondary spots: slightly higher or lower, slightly less convenient. Items used rarely or seasonally can occupy harder-to-reach spots: high shelves, deep corners, or lower cabinets.
Create zones within cabinets for logical grouping. Keep baking supplies together (flour, sugar, baking soda, chocolate chips, etc.). Consolidate spices in one spot, not scattered across multiple shelves. Group all food storage containers and lids together, or store lids separately if that’s less chaotic in your situation. Keep plates, bowls, and cups near the dishwasher or sink if possible to shorten the unload-the-dishwasher workflow.
Vertical stacking saves enormous amounts of space. Tiered risers for plates and bowls are game-changers. Stackable containers mean more items fit in the same footprint. Don’t waste horizontal shelf space when you can stack items vertically. One exception: very heavy items (large cast iron pans, heavy serving platters) are safer stored on lower shelves to reduce the risk of items dropping or tipping.
Implement Labeling and Maintenance Habits
Labels transform a cabinet from organized to actually usable by everyone in the household. Use a label maker or waterproof labels (especially important near the stove or sink where moisture accumulates) to mark container contents and expiration dates. Label shelves to show where specific items belong, so family members or guests can find things and return them to the right spot.
Establish a maintenance routine. Every three months, check expiration dates on spices and packaged goods. Wipe down shelves again as needed. After groceries, put new items in their designated zone immediately rather than letting them pile up. This small habit prevents backsliding into chaos.
When items run out, a spice container, a storage bin, replace them promptly. Small organizational gaps snowball. If the pasta container is gone but pasta is still being used, items get shoved in haphazardly and the whole system falls apart.
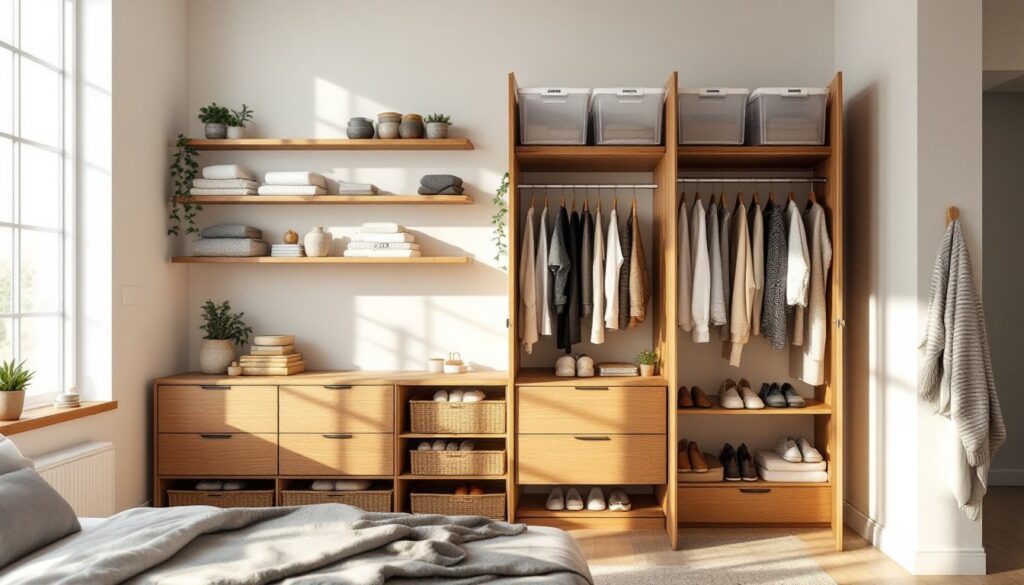
Maximize Vertical and Hidden Storage Space
Installing shelf risers or a second set of shelves above existing ones can nearly double storage capacity in some cabinets. Door organizers, whether adhesive-backed or hanging, turn cabinet insides into extra real estate for spices, cleaning products, or food wraps. Some kitchens benefit from narrow pull-out organizers installed between existing shelves, especially in deeper cabinets where items get lost.
Don’t overlook the space above cabinets, decorative baskets or closed-top storage containers sit flat up there and keep dust off while freeing up lower cabinet real estate for more-used items. Corner cabinets are notoriously awkward: a lazy susan or a blind-corner pull-out organizer transforms dead space into functional storage. The goal is to use every inch efficiently without overcrowding, which defeats the purpose of organization.
Conclusion
Organized cabinets aren’t a luxury, they’re a practical tool that makes everyday kitchen work faster and more pleasant. The process takes a day or a weekend, minimal expense, and zero special skills. Start by assessing what’s actually there, cull ruthlessly, select tools that fit your specific cabinet layout, arrange items logically, and commit to basic maintenance habits. The result is a kitchen that works for the people who cook in it.