
Table of Contents
ToggleA Dyson vacuum is a solid investment for any home, but like any tool, it needs regular maintenance to keep pulling its weight. Suction loss, strange odors, and reduced cleaning power don’t mean your machine is failing, they usually signal that it’s time for a cleaning. Most owners don’t realize how much performance they’re leaving on the table by skipping basic upkeep. The good news is that cleaning a Dyson isn’t complicated. You don’t need special tools or a technician. In this guide, you’ll walk through each maintenance step so your vacuum keeps working at peak efficiency year after year.
Key Takeaways
- Cleaning the Dyson vacuum monthly prevents suction loss, extends motor lifespan, and improves home air quality by maintaining clean filters and clear airflow.
- Empty the dustbin, wash filters with cool water only, and remove hair tangles from the brush roll in a straightforward 15-minute maintenance routine that requires no special tools.
- Check filter condition regularly and rinse under cool running water from top to bottom—never use hot water, soap, or compressed air, which can damage the filter media.
- Clear clogs from brush head connection pathways and hose interiors using a paper clip or plumbing snake, as blockages here account for most suction loss issues.
- Vacuums receiving consistent care last 8–10 years, while neglected machines typically fail in 4–5 years, making regular maintenance a simple investment in durability.
Why Regular Dyson Maintenance Matters
Dyson vacuums are engineered for high performance, but that performance depends on clear airflow and clean components. When dust and debris build up in the bin, filters, and brush head, the machine has to work harder to move air. That extra strain reduces suction, wears out motors faster, and burns through more energy.
Think of it like an engine: a clogged air filter forces the engine to compensate, cutting efficiency and lifespan. Dyson recommends checking and cleaning your vacuum at least once a month, or more often if you have pets or heavy foot traffic. The routine takes maybe 15 minutes and costs nothing.
Regular cleaning also keeps your home healthier. A dirty filter recirculates dust and allergens back into the air instead of trapping them. If anyone in your household has asthma or allergies, this matters even more. Taking care of your Dyson isn’t just about the machine, it’s about maintaining the air you breathe.
Empty and Inspect the Dustbin
Start by unplugging your vacuum. This is non-negotiable, never work on a powered machine.
Locate the dustbin release button, usually on the side or rear of the unit, and press it to detach the bin. Hold it over a trash can and press the bottom release catch to dump the contents. Most of the dust will fall out, but use your hand or a soft brush to knock loose any stubborn clumps stuck to the bin walls.
While the bin is off, inspect it for damage or residue. Look for cracks (a cracked bin leaks dust and reduces suction) and check the bottom seal for debris. If the seal is compromised, it needs replacement. Wipe the inside with a dry cloth to remove fine dust.
Check the connection point where the bin meets the motor head. Dust buildup here can prevent a tight seal. A quick wipe with a dry cloth fixes this. Reattach the bin firmly, you should hear or feel a click when it seats properly. This step takes two minutes but directly impacts suction.
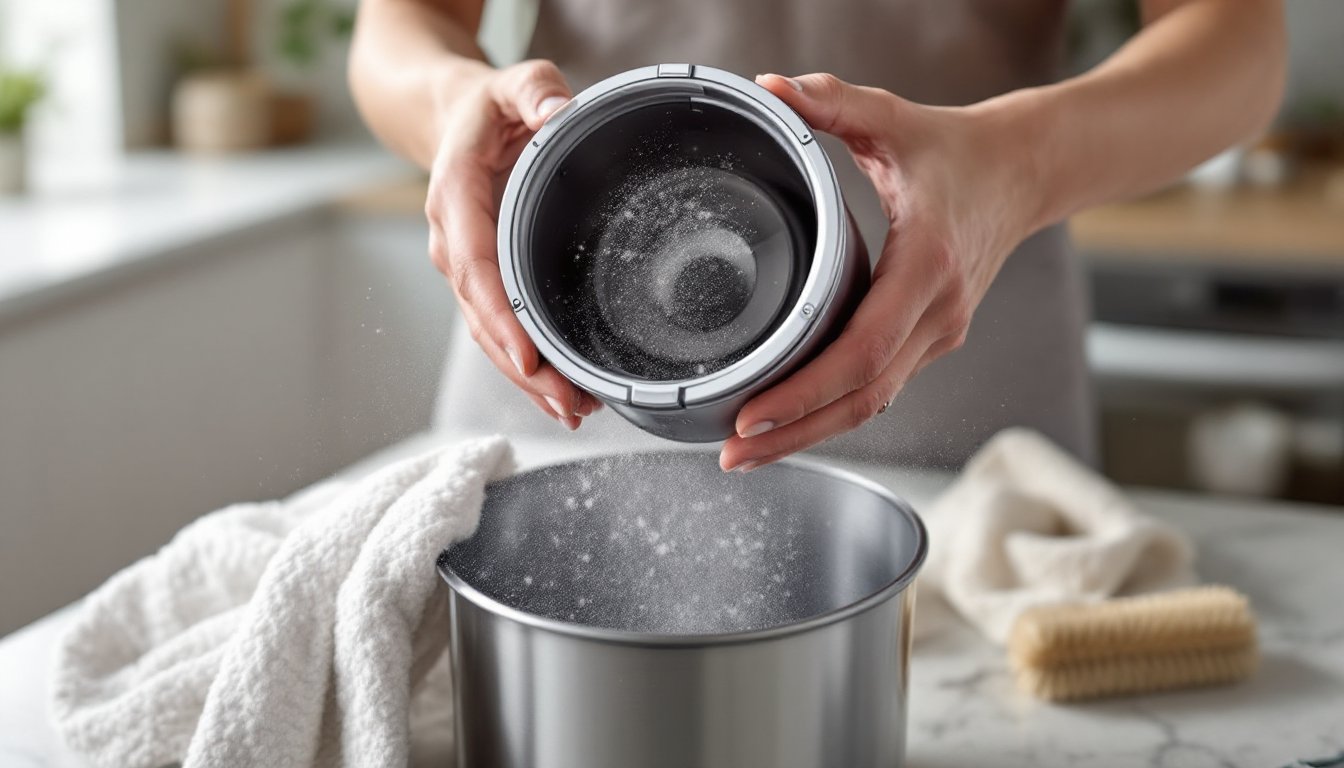
Clean the Filters for Optimal Performance
The filter is where most maintenance happens. Dyson vacuums typically have one or more HEPA or washable filters that trap particles. Over time, dust coats these filters and chokes airflow.
Looking at your Dyson model, locate the filter (it’s usually a cylindrical cartridge near the top). Press the release button and twist or pull to remove it. Tap it gently over the trash can to dislodge loose dust. Don’t bang it hard, the filter media is delicate and can tear.
Inspect the filter for discoloration. If it looks gray or caked, it needs washing. A filter that looks relatively clean still benefits from a gentle rinse every month. Check the manufacturer’s guidance for your specific model, as some filters are washable and others are not. If yours is washable, follow the guidance below.
Washing Your Filters Safely
Rinse the filter under cool running water. Let the water flow through the filter from the top (the clean side) downward. Never spray from the bottom up, that forces debris into the media. Use your fingers to gently rub the outside while rinsing.
If the filter is very dirty, soak it in cool water for 15 minutes before rinsing. For stubborn dust, use a soft brush (an old toothbrush works) on the pleats, brushing gently from top to bottom.
Do not use hot water, soap, or compressed air. Hot water damages the filter media, soap clogs it, and compressed air can tear fibers. After rinsing, shake off excess water and let the filter air dry completely before reinstalling, this usually takes 2–4 hours, or overnight to be safe. A damp filter installed in the vacuum can promote mold and mildew. If you’re in a hurry, you can remove the filter the night before you plan to vacuum, ensuring it’s fully dry by morning.
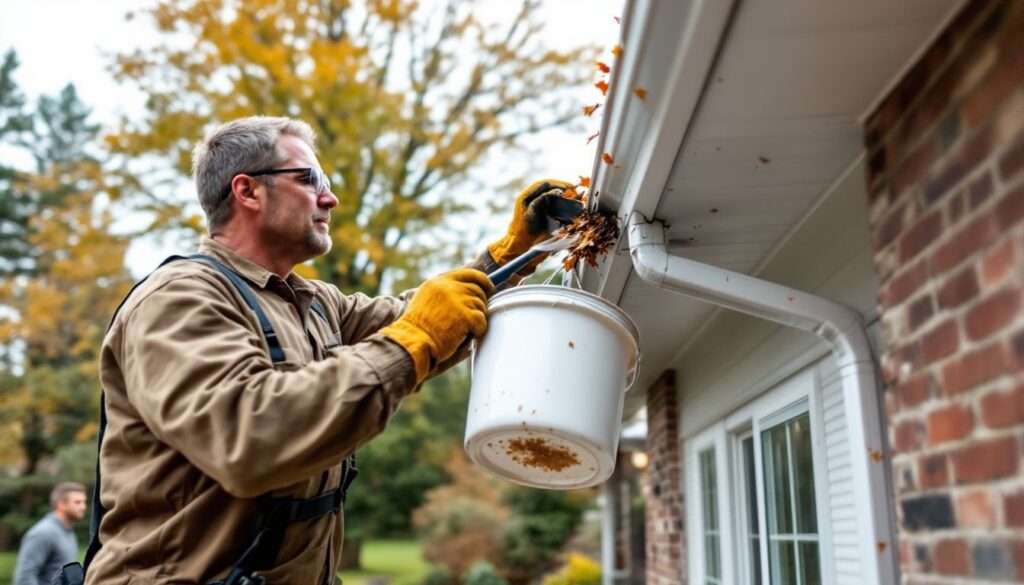
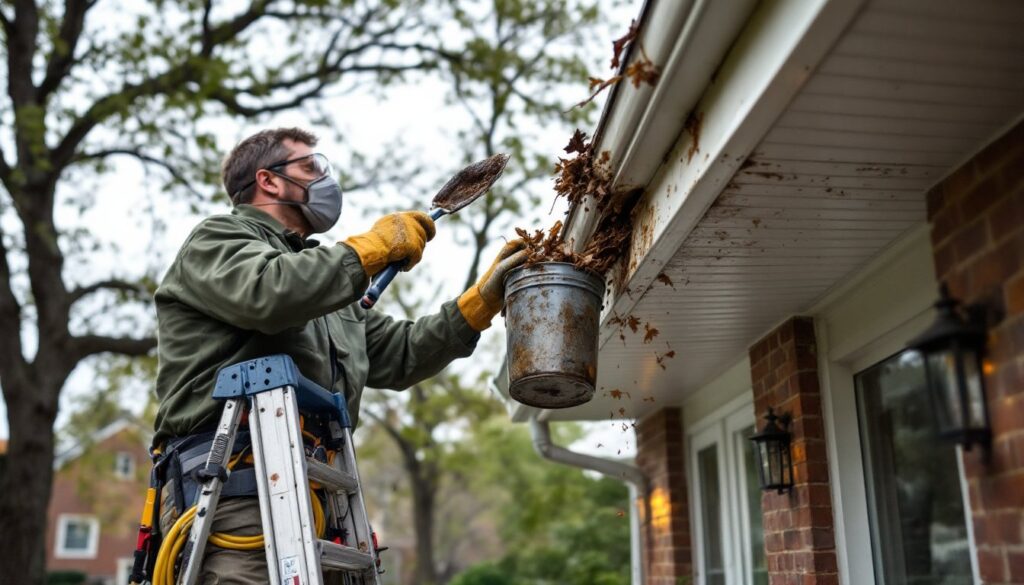
Unclog the Brush Head and Roller
The brush roll (or roller) is where hair and fibers get tangled. Over time, a clogged roller spins poorly and loses contact with the floor, killing cleaning power. Unplugging the vacuum first, locate the brush head release buttons or clips (designs vary by model) and remove it from the main unit.
Take a close look at the roller. If it’s wrapped in hair, use scissors or a seam ripper to carefully cut and pull out the tangles. Work slowly, the goal is to remove wrapped fibers without nicking the bristles. Once the visible hair is gone, wipe the roller with a damp cloth to remove dust and pet dander.
Inspect the bearing caps (the plastic end pieces) for damage. If they’re cracked, the roller can wobble and wear unevenly. Check that the roller spins freely by hand. It should turn with minimal resistance.
While you have the head off, check the suction pathways. Hair often clogs the opening where the brush connects to the motor unit. Use a straightened paper clip or a plumbing snake to clear any blockages. Wipe with a cloth afterward. According to detailed maintenance guides, most suction loss comes from clogs in these pathways, not from failed motors.
Wipe Down the Exterior and Hose
Don’t overlook the outside. A quick wipe keeps your Dyson looking clean and helps you spot wear early.
With the vacuum unplugged, use a dry cloth to wipe the motor head, handle, and body. For sticky residue, dampen the cloth slightly, don’t pour water on the machine. Pay attention to crevices where dust collects around button edges and where parts connect.
If your model has a hose attachment, detach it and inspect the inside. Shine a flashlight through and look for clogs. If there’s a blockage, straighten a wire hanger and carefully push it through from one end. Never force it, you can puncture the hose. Proper hose maintenance prevents weak suction and ensures all attachments work at full power.
Check the hose exterior for cracks or damage. A pinhole leak lets unfiltered air bypass the system. If the hose is damaged, it needs replacement, tape is a temporary fix and won’t restore performance. Wipe the outside of the hose with a damp cloth and dry it before reattaching.
Monthly Maintenance Tips to Extend Your Vacuum’s Life
Getting into a rhythm with maintenance stops small issues from becoming big ones. Set a calendar reminder for the first of each month, it takes 15 minutes and keeps your vacuum running strong.
Empty the bin before every use. A full bin reduces suction and forces the motor to work harder. That daily habit costs nothing but pays dividends.
Wash filters every month. Even if they don’t look dirty, a monthly rinse removes fine dust and keeps airflow optimal. Always let them dry completely before reinstalling.
Check for tangles weekly if you have pets. Pet hair is the enemy of brush rolls. A quick weekly check prevents buildup and reduces the need for deep cleaning.
Inspect hoses and attachments seasonally. Look for damage, cracks, or blockages. Replace parts if needed, genuine Dyson replacement parts aren’t cheap, but they’re cheaper than a new vacuum.
Keep a dry storage area. Store your vacuum indoors in a cool, dry place. Moisture can corrode connections and promote mold in filters. Basements and humid garages are less ideal than a closet or utility room.
According to expert maintenance recommendations, vacuums that receive consistent care last 8–10 years or longer, while neglected machines often fail in 4–5 years. The difference is simple discipline, not luck.