
Table of Contents
ToggleDrain rocks, those landscape-adjacent drainage components around your foundation, French drains, or exterior gutters, don’t clean themselves. Over months and years, they accumulate silt, leaves, sediment, and organic debris that can choke water flow and cause pooling, foundation issues, or basement moisture. Rockwall homeowners dealing with clay-heavy soil and seasonal weather patterns often face this problem sooner than those in other regions. The good news: cleaning your drain rocks is a straightforward task you can handle yourself with basic tools and a couple of hours. This guide walks you through the why, when, and how of keeping your drainage system flowing freely.
Key Takeaways
- Drain cleaning in Rockwall prevents water pooling around your foundation by removing accumulated silt, leaves, and sediment that block water flow.
- Watch for red flags like standing water, damp basement walls, visible silt on rocks, or moss growth to determine when drain cleaning is needed.
- You can clean drain rocks yourself with basic tools like a shovel, hose, stiff brush, and wheelbarrow—a job that typically takes just a couple of hours.
- Rockwall’s clay-heavy soil makes drainage systems work harder, so replacing the top 4–6 inches of rocks and maintaining proper grading is essential for long-term performance.
- Prevent future clogs by cleaning gutters regularly, trimming overhanging trees, and inspecting drain rocks twice yearly in spring and fall.
- Call a professional if you notice persistent standing water, foundation cracks, strong sewage smells, or if your French drain system needs full replacement.
Why Your Rockwall Drainage System Needs Regular Maintenance
Drain rocks serve a single critical job: channeling water away from your foundation and into proper drainage paths. When they get clogged with silt, leaves, and sediment, water stops flowing where it should. Instead, it pools around your foundation, seeps into your basement or crawl space, and can eventually cause structural damage or mold growth.
Rockwall’s soil composition, often clay-heavy and dense, makes this problem worse. Clay doesn’t drain as well as sandy soil, so your drainage rocks have to work harder. Add seasonal rain, leaf drop, and roof runoff into the mix, and you’ve got the perfect recipe for clogged rocks. A clogged drain rock system also increases hydrostatic pressure against your foundation walls, which isn’t something you want to gamble on.
Regular maintenance catches this problem before it becomes expensive. A few hours now beats foundation repair later.
Signs Your Drain Rocks Need Cleaning
Watch for these red flags that your drain rocks are clogged or compromised:
- Standing water around your foundation, especially after rain
- Damp or wet basement walls, basement floor seepage, or that musty smell
- Visible silt or sediment sitting on top of the rocks or in nearby gutters
- Landscape settling or erosion near the drainage area
- Algae or moss growth on the rocks themselves (a sign water isn’t moving through)
- Foundation cracks or bowing walls (a late-stage warning sign)
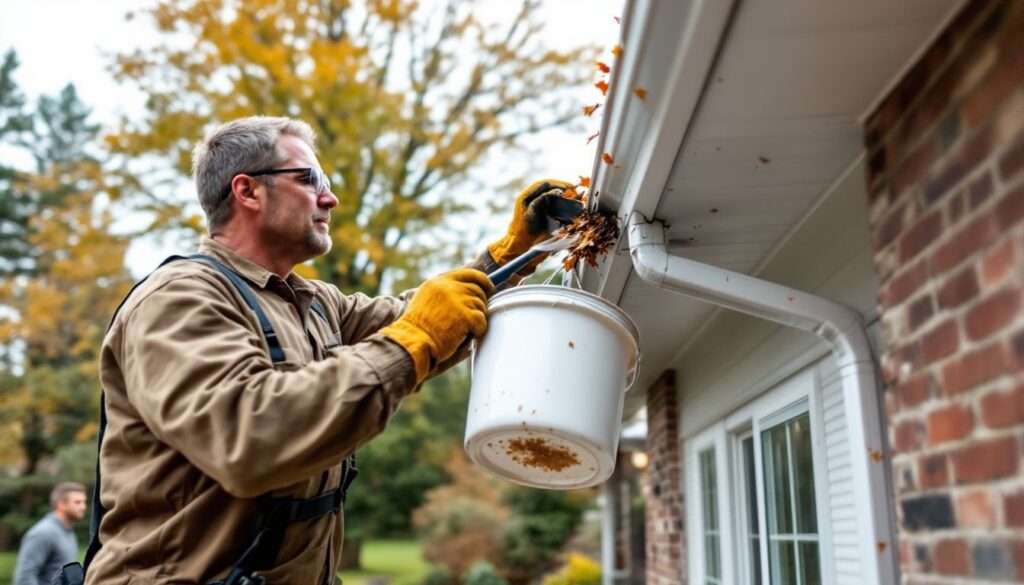
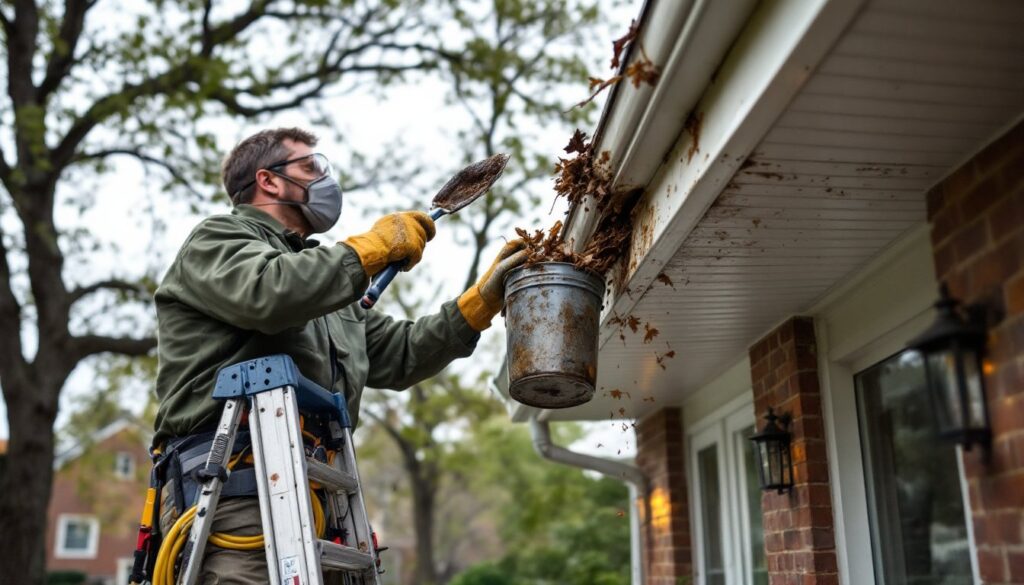
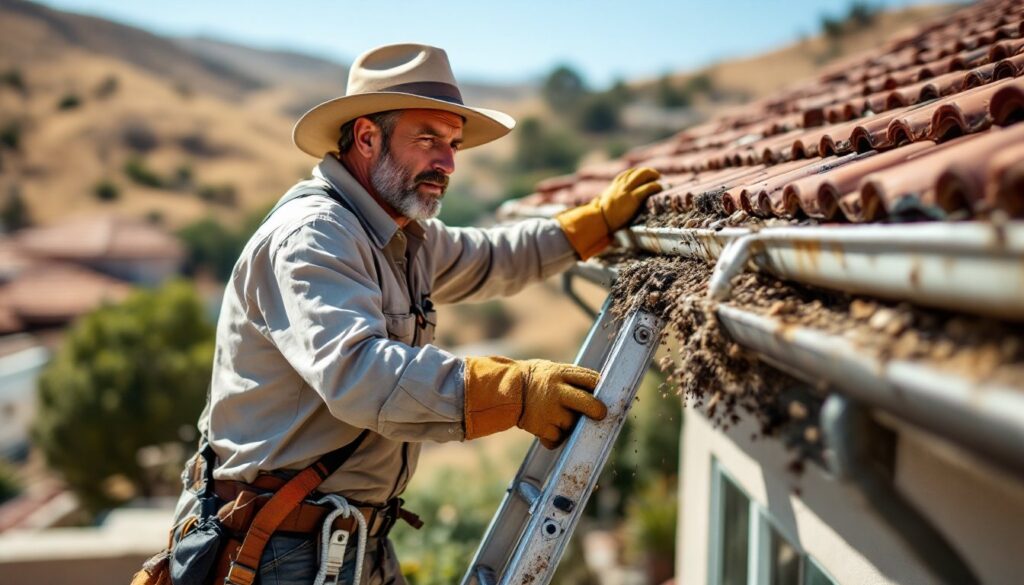
- Gutters or downspouts that appear blocked or overflowing even when it’s raining lightly
If you see any of these, it’s time to inspect and clean. Drain rocks sitting under a thick carpet of leaves or needles are almost guaranteed to be partially blocked. Don’t wait for water damage to start, preventive maintenance is worth it.
Tools and Materials You’ll Need
Most drain cleaning projects don’t require expensive equipment. Here’s what to gather before you start:
Tools:
- Shovel or spade (for digging and moving rocks)
- Garden rake or stiff brush (for debris removal)
- Hose with spray nozzle (pressure washer optional, but useful)
- Work gloves (heavy-duty leather or rubber)
- Bucket or wheelbarrow (for hauling debris)
- Wire brush or old broom (for scrubbing silt off rocks)
- Flashlight (to see what’s underneath)
- Measuring tape (optional, to track depth and coverage)
Safety Gear:
- Work gloves (rocks and silt harbor bacteria and fungi)
- Eye protection (dust and rock fragments)
- Dust mask or respirator (if silt clouds are heavy)
- Steel-toed boots (rocks can roll: protect your feet)
- Long sleeves (optional, but smart for protection)
Materials:
- Replacement drain rocks (#57 stone or similar 1–1.5 inch gravel, if needed)
- Landscape fabric (optional, but helpful for preventing silt from mixing with rocks)
- Mulch or topsoil (to grade the area after cleaning if necessary)
If you’re dealing with a large area or heavy-duty clogs, a pressure washer (2500–3000 PSI) can speed up the job, but it’s not essential. Pressure washing also risks moving silt deeper into the drain, so use caution.
Step-by-Step Guide to Cleaning Your Rockwall Drain Rocks
Inspection
Start by clearing away any leaves, needles, mulch, or topsoil piled on top of the rocks. Dig down 2–3 inches to see what you’re working with. If rocks are buried under silt, sediment, or debris, that’s your problem.
Remove and Rinse the Top Layer
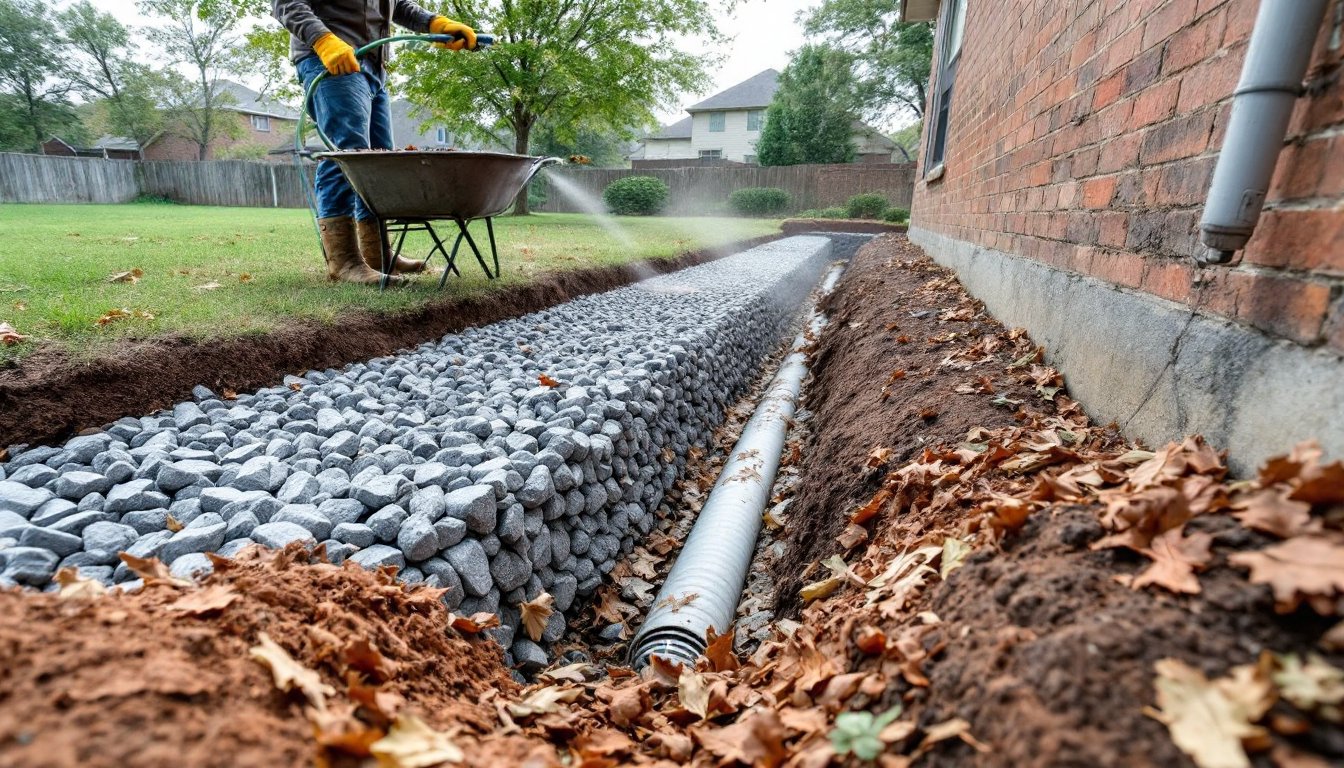
Using a shovel, carefully remove the top 4–6 inches of drain rocks (and any silt clinging to them) into a wheelbarrow or bucket. Don’t go deeper than necessary, you want to expose the layer underneath without dismantling your whole drainage system.
Rinse the removed rocks with a hose to knock off silt and sediment. A stiff brush helps dislodge stubborn crud. You can reuse clean rocks if they’re intact.
Clear Debris From the Trench
Inspect the trench beneath the rocks. Remove any leaves, silt accumulation, or mud. This is where water should be flowing freely. Use the hose to gently flush any remaining sediment toward your drainage outlet (French drain pipe, swale, or storm drain).
If the trench has standing water or smells rotten, allow it to dry or pump it out before proceeding.
Check the Drainage Outlet
Locate where your drain rocks are supposed to flow to, usually a French drain pipe (perforated PVC buried beneath), a catch basin, or a swale. Make sure the outlet isn’t clogged. If water can’t escape, cleaning the rocks won’t help. You may need to clear the pipe or dig to the outlet to verify flow.
Replace and Regrade
Once the trench and outlet are clear, replace the cleaned rocks back into the trench. Add new #57 stone if you removed more than you can reuse. Rocks should sit about 2–3 inches below ground level, not mounded on top (that looks neat, but it won’t drain effectively).
Optional: Install a layer of landscape fabric between the rocks and the topsoil above to keep silt from mixing down. This is especially smart in clay-heavy areas like Rockwall.
Grade and Restore
Add a thin layer of topsoil or mulch over the rocks to blend with the surrounding landscape. Ensure the grading slopes gently away from your foundation, water should want to flow away, not toward your house.
Test
Run the hose along the cleaned drain rocks area and observe water movement. Water should soak in quickly and not pool. If it still pools, check the outlet again or consider whether you need to go deeper or wider with your drain.
Prevention Tips to Keep Your Drains Clear Longer
Once your drain rocks are clean, keep them that way:
- Clean gutters and downspouts every fall and after heavy winds. Clogged gutters dump debris directly onto your drain rocks.
- Trim trees that hang over your roof or drain area to reduce leaf and needle drop.
- Install gutter guards or leaf screens if you’re in a heavily wooded area.
- Grade your landscape to direct surface water away from foundation and drain areas.
- Use landscape fabric under topsoil to slow silt infiltration into the rocks.
- Inspect drain rocks twice a year: once in spring (after winter debris and snowmelt) and again in fall (before leaf drop). Spending 15 minutes checking is far easier than a full cleaning later.
- Consider a French drain upgrade if clogs are frequent. Modern, properly sloped French drains with fabric wrapping last longer and require less maintenance.
You might find that cheapest drain cleaning service options can help with tougher jobs, though the DIY approach works for routine maintenance.
When to Call a Professional
Cleaning drain rocks is usually a DIY win, but some situations call for a professional:
- Persistent standing water even after you’ve cleaned the rocks. This suggests the outlet is blocked or the slope is wrong, diagnosis requires expertise.
- Strong sewage smell from the drain area. That indicates a break in a sewer or drain line, not just a clog.
- Cracks in your foundation or bowing walls. These are structural concerns that go beyond drainage maintenance.
- A French drain system that needs full replacement. If rocks and pipes are degraded or settled, retrofitting is a job for professionals with equipment.
- Permit-required work. Some municipalities require permits for drain system repairs or installation. Check local codes before starting major work.
- Limited access or safety risks. If drain rocks are under a deck, near a septic field, or in a tight crawl space, bring in someone licensed and insured.
Services listed on Angi’s drain cleaning directory for Rockwall can provide quotes and handle jobs beyond your comfort level. HomeAdvisor and similar platforms also offer contractor matching and project cost guides if you’re weighing DIY versus hiring out.
If you’re unsure about your foundation’s drainage system, a foundation inspection ($200–$500) is money well spent. It’ll tell you exactly what needs attention and what doesn’t.
Conclusion
Drain rocks don’t heal themselves, but they’re not complicated to maintain. A couple of hours of cleaning, combined with simple prevention habits, will keep water flowing away from your foundation where it belongs. Rockwall’s challenging soil and seasonal weather make drainage maintenance more important than ever. Stay proactive, and you’ll avoid the costly headaches that water intrusion can cause. Your future self, and your foundation, will thank you.