
Table of Contents
ToggleA clogged drain doesn’t have to mean a trip to the hardware store for expensive chemical cleaners or a call to a plumber. Baking soda and vinegar, two ingredients already in most kitchen cabinets, can tackle slow drains and minor clogs with remarkable effectiveness. The combination works through a straightforward chemical reaction that breaks down buildup without harsh fumes or environmental toxins. This guide walks you through exactly how to use these household staples to restore water flow, when the method works best, and what to do when a professional becomes necessary. It’s honest, practical advice from someone who’s cleaned plenty of drains the simple way.
Key Takeaways
- Baking soda and vinegar drain cleaning works through a chemical reaction that produces fizzing action to break down soft clogs made of soap scum, hair, grease, and organic debris without toxic fumes or skin-damaging chemicals.
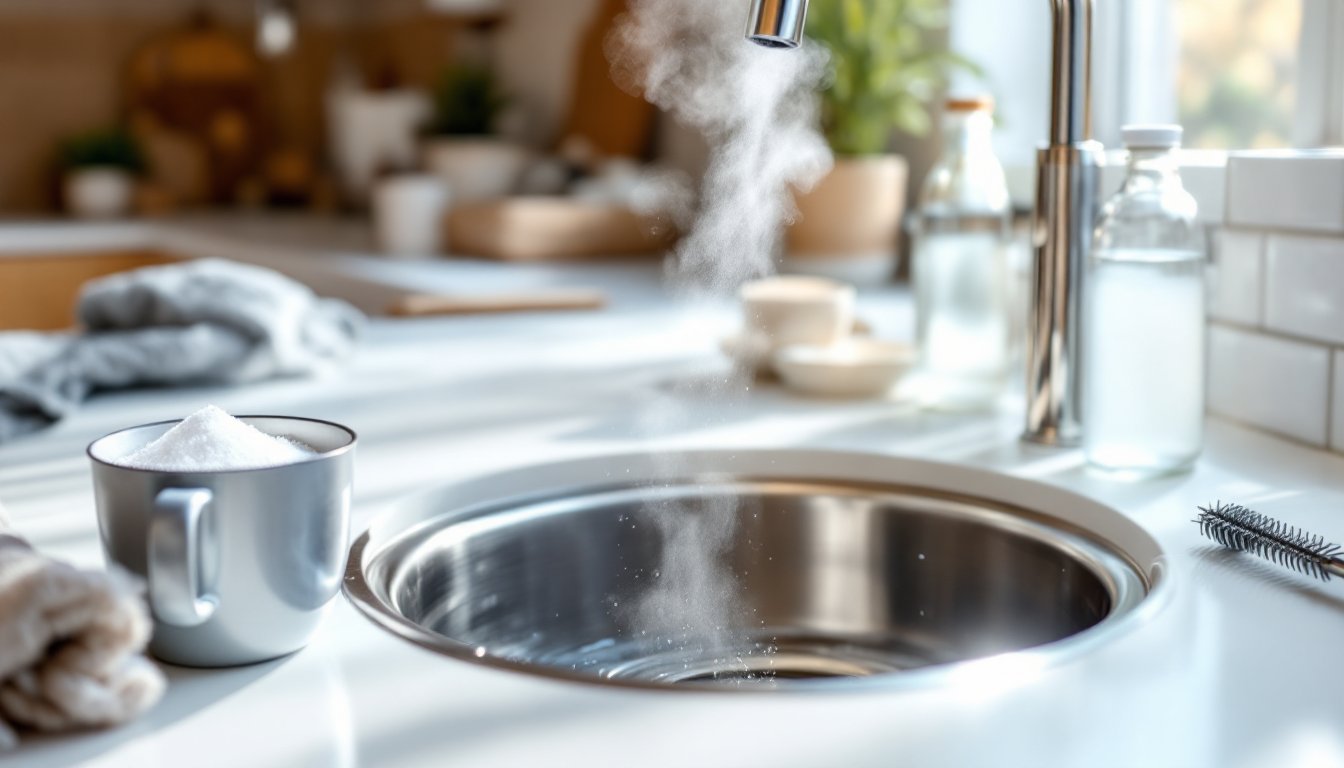
- The most effective drain cleaning method requires one-half cup baking soda, one cup white vinegar, and hot water—pour boiling water first, add baking soda, pour vinegar slowly to trigger fizz, wait 15–30 minutes, then flush with hot water.
- Baking soda and vinegar work best on slow drains and minor blockages but won’t penetrate fully blocked drains or mineral deposits in old cast-iron pipes, requiring professional help if improvement doesn’t occur after two treatments.
- Kitchen sinks benefit from pre-treatment with boiling water to soften grease, while shower drains need visible hair removed first and may require 20–30 minutes of sitting time for tough soap buildup.
- Prevent future clogs by installing drain strainers, never pouring grease down drains, flushing with hot water after each use, and performing monthly maintenance with baking soda and vinegar.
- Call a professional plumber if multiple drains back up simultaneously, sewage odors appear, or structural pipe issues like corrosion or calcification are suspected—costs typically range from $150–$600 depending on equipment needed.
Why Baking Soda and Vinegar Work Better Than You’d Think
The Science Behind the Fizz
When baking soda (sodium bicarbonate) meets vinegar (acetic acid), a chemical reaction occurs that produces carbon dioxide gas, water, and sodium acetate. That fizzing action, the same reaction that makes a volcano project bubble over in third-grade science class, is what makes this method effective. The bubbles physically agitate and break apart soft clogs made of soap scum, hair, grease, and organic debris.
This approach works best on slow drains and minor blockages. It won’t blast through a fully blocked drain the way a plumbing snake would, and it can’t cut through mineral deposits in old cast-iron pipes. But for everyday maintenance or early-stage buildup, the baking soda and vinegar method is both safe and surprisingly thorough.
Unlike commercial drain cleaners containing sodium hydroxide or sulfuric acid, this natural combination produces no hazardous fumes, won’t burn skin on contact, and won’t damage most pipe materials, including PVC, copper, and cast iron. That makes it safer to use around kids and pets, and easier to handle without specialized PPE beyond basic precautions.
Step-by-Step: The Most Effective Drain Cleaning Method
What You’ll Need to Gather First
Materials:
• Baking soda (one-half cup per drain)
• White vinegar (one cup per drain)
• Hot water (a kettle full, roughly 2-3 quarts)
• Wire drain strainer or plug (to contain the fizz)
• Towel or cloth
• Small flexible wire or old toothbrush (optional, for loosening debris)
Optional tools:
• Plunger (helpful for final push-through)
• Safety glasses (if splashing is a concern)
• Rubber gloves
Step-by-step process:
-
Remove visible debris. Pull out any hair, soap chunks, or matter clogging the drain opening. A drain strainer or bent wire coat hanger works well for fishing out tangles.
-
Pour boiling water down the drain. Start with hot (not necessarily boiling) water to soften hardened grease and warm the pipe. Let it sit for a minute.
-
Add the baking soda. Measure one-half cup of baking soda and pour it directly down the drain. It won’t dissolve, that’s intentional. You want the dry powder in the pipe.
-
Pour in the vinegar carefully. Slowly add one cup of white vinegar. The reaction begins immediately. You’ll see fizzing and hear bubbling, that’s the chemistry working. If the fizz pushes water or vinegar back up, cover the drain opening with a wet cloth to contain the pressure and keep the reaction working downward.
-
Let it sit. Cover the drain and wait 15 to 30 minutes. The longer it sits, the more time the fizzing action has to break apart buildup. For tougher clogs, wait closer to 30 minutes.
-
Flush with hot water. Boil another kettle of water and pour it down the drain to flush away loosened debris. The hot water also helps rinse residual baking soda and vinegar.
-
Test the drain. Let water run for a few seconds. If it drains quickly, you’re done. If it’s still sluggish, repeat the process once more.
Most homeowners see results after one application. Stubborn clogs may need two rounds. Multiple treatments in succession are safe, you’re not introducing toxic chemicals that can react unpredictably.
Best Practices for Different Drain Types
Not all drains are created equal, and each one has quirks worth knowing.
Kitchen sink drains handle grease more than any other drain in the home. Grease accumulates slowly, creating a slick coating inside the pipe that traps food particles. Before using baking soda and vinegar, pour boiling water down the drain first to soften the grease layer. Then follow the standard method. The combination of heat, fizzing action, and vinegar’s acidity works especially well on grease buildup. Many homeowners find this method works better than chemical degreasers because it doesn’t leave a residue.
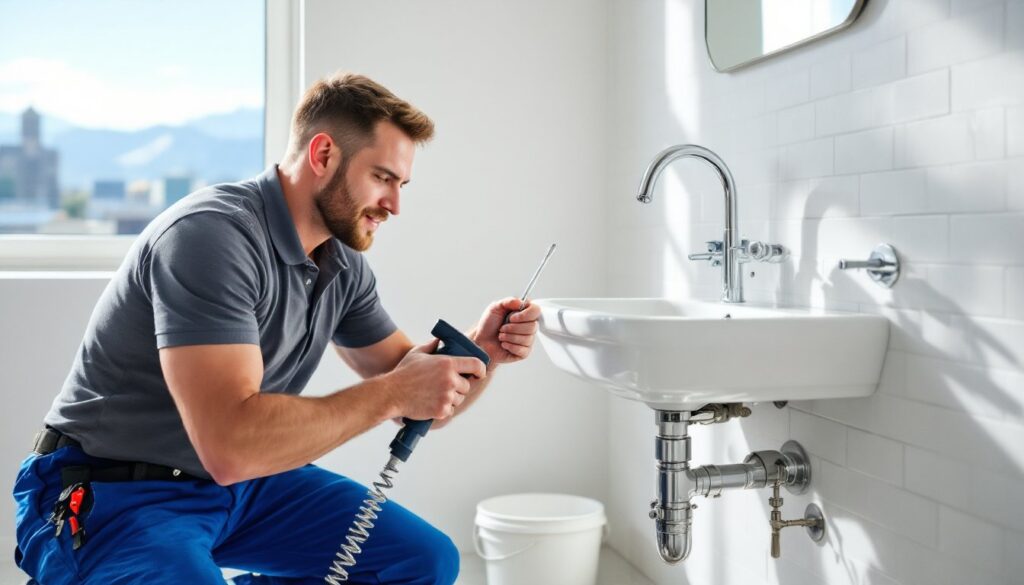
Shower and tub drains typically clog from hair and soap scum. Use a drain strainer or pull out visible hair first, this step saves time. Since standing water is common in bathroom drains, you may need to remove some water before adding baking soda. Use the same proportions (one-half cup baking soda, one cup vinegar), and let it sit for 20-30 minutes. For tough soap buildup, a worn toothbrush or small flexible wire can help loosen debris before you apply the baking soda.
Double-bowl kitchen sinks require treating each drain separately unless you can block one side. If one drain overflows when you introduce vinegar into the other, that’s your cue to seal off both drains or work on them one at a time.
Floor drains and basement sinks often trap sediment and organic matter. These can handle the standard method, but floor drains may need hot water followed by the baking soda-vinegar treatment twice. If water still won’t drain, you may have mineral deposits or a deeper blockage that requires professional equipment.
Old cast-iron or galvanized steel pipes are durable and handle this method well. But, if you have very old plumbing and the drain hasn’t flowed properly in months, consider calling a professional to check for corrosion or structural issues before attempting any cleaning.
When to Call a Professional Instead
Know your limits. Not every clog yields to DIY methods, and pushing past that point wastes time and risks damage.
Call a plumber if:
• The drain doesn’t improve after two treatments. Baking soda and vinegar work on soft blockages. If the clog doesn’t budge, you likely have a more serious issue, a broken pipe, tree root intrusion, grease trap full, or a blockage deeper in the line that requires a motorized snake or hydro-jetting equipment.
• Water backs up into multiple drains simultaneously. This signals a problem at the main sewer line, which is beyond DIY scope and requires professional diagnosis and equipment.
• You see or smell sewage, or notice a septic system issue. These problems need immediate professional assessment.
• The drain is in a commercial space or rental property. Lease agreements and local health codes often require licensed professionals for drain work. Many landlords prohibit tenants from using any drain treatment without approval.
• You suspect a structural issue with the pipe itself. Corrosion, calcification from hard water, or crushed pipes need professional repair, not chemical cleaning.
Cost reality: A professional drain cleaning with a motorized snake typically costs $150 to $400 depending on your region and pipe complexity. Compare that to the cost of ignoring a problem that worsens over months, it’s often cheaper to hire help early. Resources like cheapest drain cleaning services can help you find competitive pricing in your area. Hydro-jetting (high-pressure water blasting) runs $300 to $600 and is worth the cost for stubborn clogs or preventive maintenance on older pipes.
Maintenance Tips to Prevent Future Clogs
An ounce of prevention saves you from repeating this process monthly.
For kitchen sinks: Use a drain strainer to catch food particles before they enter the pipe. Never pour grease down the drain, let it cool in a container and throw it away. Once monthly, run hot water through the drain for 30 seconds, then follow up with the baking soda and vinegar method as preventive maintenance. This keeps buildup from accumulating.
For bathroom drains: Install a mesh strainer or hair trap over the drain opening. Pull out any trapped hair weekly. Once a month, flush the drain with hot water followed by a quick baking soda and vinegar treatment.
General practice: Flush drains with hot water after each use. This simple habit keeps grease and soap mobile instead of letting them harden inside the pipe. Some homeowners find that cleaning hacks and routine drain maintenance prevent the need for aggressive treatments. If your home has hard water, mineral deposits will accumulate faster, in that case, increase the frequency of hot water flushes.
Never put these down any drain: cooking oil, grease, starchy pasta water, coffee grounds, lint from the dryer, or non-flushable wipes (even ones labeled “flushable”). These are the primary culprits behind clogs that baking soda and vinegar can’t fix.
For established problems, many experts at Good Housekeeping recommend combining preventive maintenance with occasional professional cleaning every 1-2 years if you have older plumbing or chronic slow drains. Small investments in prevention keep emergency plumber visits at bay.