
Table of Contents
ToggleA clean car is more than just cosmetic, it’s about preserving your vehicle’s value, protecting its interior, and creating a healthier driving environment. Whether you’re dealing with months of dust, stubborn stains, or just want to restore that new-car feel, learning how to deep clean your car yourself saves hundreds in professional detailing costs. This guide walks you through the tools, techniques, and step-by-step process to achieve professional-grade results without leaving your driveway. You’ll tackle both interior and exterior grime, protect your surfaces, and learn habits that keep your car looking sharp year-round.
Key Takeaways
- Deep cleaning your car preserves vehicle value, protects the interior, and removes contaminants that regular maintenance misses, from dust in air vents to oxidation on paint.
- A thorough wet/dry vacuum with upholstery attachments is non-negotiable for interior deep cleaning, followed by targeted cleaning of air vents, upholstery stains, carpets, and leather conditioning.
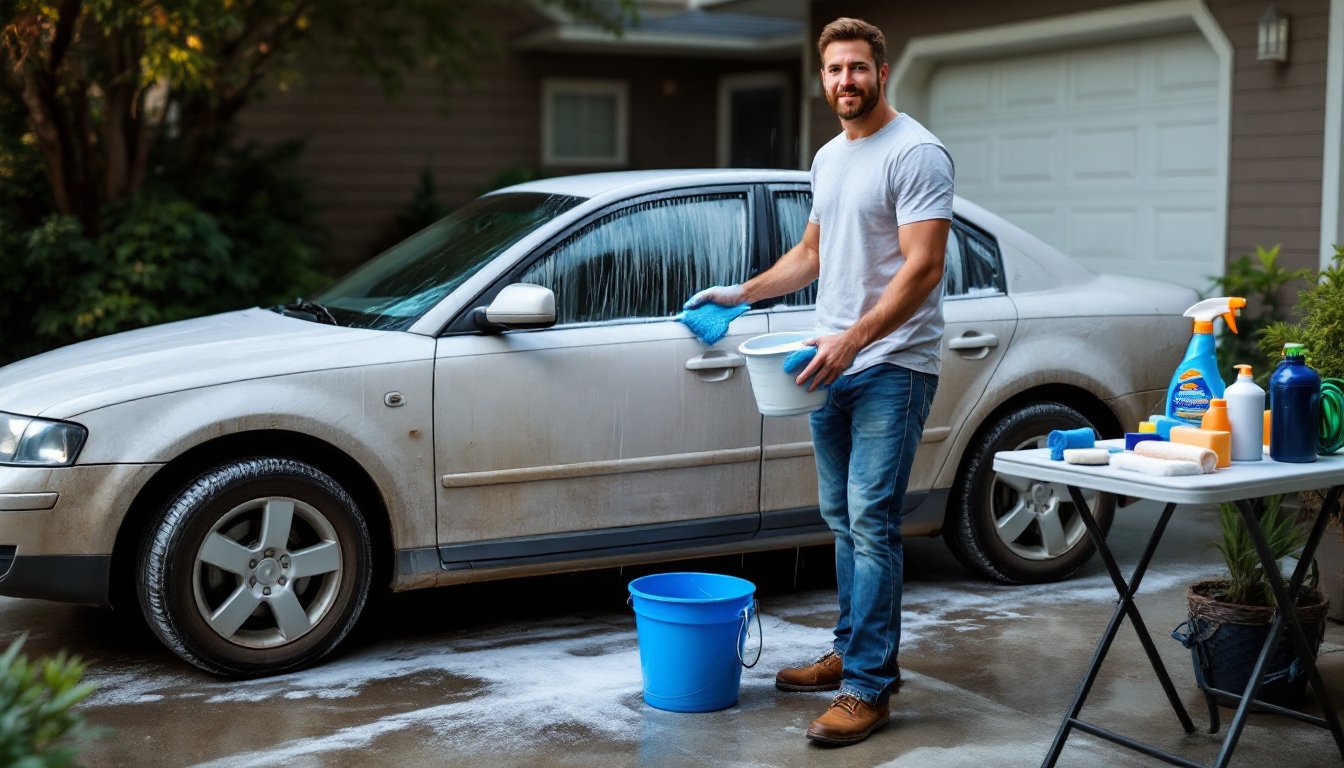
- The two-bucket wash method (one with soapy water, one for rinsing) prevents dragging dirt across paint, while working top-to-bottom ensures gravity naturally carries dirty water downward.
- After washing and drying, a clay bar removes embedded contaminants like tree sap and overspray before polishing and waxing for maximum paint protection.
- Monthly vacuuming, quarterly interior conditioning, and seasonal exterior touch-ups maintain your deep cleaning results and prevent buildup that degrades appearance over time.
Why Deep Cleaning Your Car Matters
Regular vacuuming and a quick wipe-down are fine for maintenance, but deep cleaning targets the buildup your routine routine misses. Dust settles into air vents, grime embeds in upholstery fibers, and contaminants bond to paint, all of which degrade appearance and durability over time.
Interior deep cleaning removes allergens trapped in carpets and seats, making your cabin healthier for you and your passengers. Exterior detailing removes oxidation, tar, and brake dust that chemically degrade clear coat and paint if left untreated. A well-maintained car also holds resale value better: potential buyers notice a spotless interior and protected exterior. Beyond that, investing a weekend in your car now prevents costly repairs later and makes every drive feel more pleasant.
Essential Tools and Supplies You’ll Need
Interior Cleaning Equipment
Start with a wet/dry vacuum with upholstery attachments, this is non-negotiable for removing embedded dust and crumbs. A handheld option works for smaller cars, but an upright model handles larger sedans and SUVs faster.
For detailing work, gather:
- Interior detailing spray (fabric-safe or leather-specific, depending on your surfaces)
- Microfiber cloths (buy a multipak: use separate cloths for different tasks to avoid cross-contamination)
- Soft-bristle brushes for vents, crevices, and stubborn spots
- Glass cleaner (ammonia-free for tinted windows)
- Leather conditioner if your car has leather seats
- Carpet cleaner concentrate or upholstery shampoo
- Bucket for mixing solutions and rinsing
- Carpet extraction machine (optional but effective: many hardware stores rent them)
Exterior Cleaning Equipment
For the outside, you’ll need basic pressure-washing and hand-washing supplies:
- Two buckets (one with soapy water, one for rinsing your wash mitt)
- Grit guards to line bucket bottoms and trap dirt
- Microfiber wash mitt
- Car wash shampoo (pH-balanced, not dish soap)
- Wheel cleaner and tire brush
- Clay bar (removes embedded contaminants before waxing)
- Car polish or compound (for oxidized paint)
- Paste wax or sealant (for protective finish)
- Microfiber drying towels
A pressure washer speeds up rinsing, but avoid directing the nozzle straight at seals or electronics: use a wide fan pattern. Consider renting professional detailing equipment if your budget allows.
Step-by-Step Interior Deep Clean
Before you start: Open all doors and windows for ventilation. Remove floor mats and any loose items from the cabin.
-
Vacuum thoroughly. Start with the obvious surfaces, seats, floor, and under the seats. Use crevice attachments for gaps along the center console, under pedals, and door pockets. Don’t rush: go over high-traffic areas multiple times to pull out deeply embedded dust. Most failures happen here, so spend real time on this step.
-
Clean air vents and hard surfaces. Use a soft brush and dry microfiber cloth to dislodge dust from dashboard vents and air returns. A vacuum hose nearby catches loosened debris. Wipe down the steering wheel, dashboard, door panels, and center console with appropriate cleaner, use a leather-specific product on leather, and all-purpose interior cleaner on plastic and vinyl.
-
Address upholstery stains. Spray interior detailing spray onto cloth, not directly onto fabric (excess liquid damages foam underneath). Blot, don’t scrub: rubbing spreads stains. For stubborn spots, let the solution sit for 5–10 minutes before wiping. Carpet extraction equipment works well here if you have access to one.
-
Deep clean carpets. Mix carpet shampoo per product instructions and work in small sections. Apply, agitate gently with a soft brush, then extract moisture with your shop vac or extraction machine. This takes time but transforms dingy carpet. Allow at least 2 hours drying time before driving.
-
Clean windows and mirrors. Use ammonia-free glass cleaner and microfiber cloths to avoid streaks. Wipe side windows, rearview, and windshield last so you’re left with a clear view. An approach to professional car detailing emphasizes this final window polish as the finishing touch.
-
Apply conditioner where needed. Leather seats benefit from a leather conditioner applied monthly: follow product instructions. Dashboard protectant extends the life of plastic and keeps surfaces looking fresh.
Step-by-Step Exterior Deep Clean
Before starting: Park in shade if possible to prevent spotting and product streaking.
-
Rinse loose dirt. A pressure washer on low setting or regular garden hose loosens surface dust and debris. This prevents dragging grit across the paint during washing, which causes micro-scratches. Pay attention to the wheel wells and undercarriage where mud and road salt hide.
-
Wash the body. Fill one bucket with car wash shampoo and water, the other with clean rinse water. Dip your microfiber mitt in soapy water, wash a section of the car using straight lines (not circular motions), then rinse your mitt in the clean bucket before re-dipping in soap. This two-bucket method keeps dirt out of your wash solution. Work from top to bottom: gravity and gravity help dirty water run downward naturally.
-
Clean the wheels and tires separately. Wheel cleaner and a dedicated tire brush prevent brake dust and road grime from being smeared onto clean paint. Rinse thoroughly with the hose: brake dust is corrosive and will etch metal if left to dry.
-
Dry completely. Use microfiber drying towels to prevent water spots. Chamois or drying aids designed for cars also work well. Thorough drying is essential before polishing or waxing.
-
Use a clay bar. After washing and drying, a clay bar kit removes embedded contaminants (overspray, tree sap, industrial fallout) that regular washing misses. Lubricate the surface with the included solution, glide the clay bar gently across small sections, then wipe clean. This preps the paint for protection.
-
Polish oxidized paint. If your paint looks chalky or dull, a car polish or compound restores clarity. Work in small sections with a microfiber applicator pad, then buff away excess with a clean cloth. Professional detailing techniques prioritize this restoration step for long-term protection.
-
Apply wax or sealant. A paste wax or paint sealant protects against UV damage and water spotting. Apply thin, even coats according to product directions, typically allowing 5–10 minutes between coats. Buff to a shine with a microfiber cloth. This final layer locks in your hard work and keeps dirt from bonding to paint.
Pro Tips for Long-Lasting Results
Protect as you go. Don’t deep clean your car only to neglect it afterward. Monthly vacuuming, quarterly interior conditioning, and seasonal exterior touch-ups maintain that fresh look. A car cover protects paint if parked long-term outdoors.
Use the right PPE. Wear gloves when handling cleaners, especially wheel cleaner or compounds. Safety glasses protect your eyes from splash-back during pressure washing. A dust mask helps if you’re sensitive to carpet cleaning solution fumes.
Temperature and timing matter. Clean on a mild day: extreme heat causes products to dry too fast and leave streaks. Avoid direct sunlight on the paint during polishing or waxing. Early morning or late afternoon works best.
Know your surfaces. Leather, vinyl, suede, and fabric each require specific cleaners. Using the wrong product can discolor or damage upholstery. Read product labels and test on a hidden spot if you’re unsure. When tackling both interior and exterior simultaneously, strategies outlined in comprehensive car cleaning guides help you organize your effort and avoid missing spots.
Let everything dry. Rushing to drive immediately after cleaning traps moisture, which breeds mildew and odors. Allow 2–4 hours minimum for carpets, and overnight for interior treatments to fully cure.
Deep cleaning your car is a satisfying, cost-saving project that pays dividends in appearance and longevity. With the right tools and a systematic approach, you’ll achieve results that rival professional detailing, and you’ll know exactly what went into your vehicle.