
Table of Contents
ToggleWater pooling in your yard, slow drainage around the foundation, or that unmistakable smell of backed-up sewage, these are signs your outdoor drain needs attention. Outdoor drain cleaning is one of those maintenance tasks homeowners often overlook until something goes wrong. The good news? Many clogs you can tackle yourself with the right knowledge and tools. This guide walks you through understanding your drainage system, identifying problems, and deciding whether it’s a DIY job or time to call in a professional.
Key Takeaways
- Understanding your home’s drainage system—whether it uses storm drains, dry wells, or daylight drainage—is essential before attempting outdoor drain cleaning.
- Common causes of outdoor drain clogs include leaves, sediment, roots, and debris accumulation, which can be prevented with regular gutter maintenance and downspout cleaning twice yearly.
- For accessible clogs like those in catch basins or downspout extensions, a manual drain snake ($20–50) or pressure washer can resolve the issue, but professional help is needed for main sewer line backups, collapsed pipes, or recurring clogs.
- DIY outdoor drain cleaning combines snaking first to break up debris, then moderate pressure washing to flush the line clear, reducing the risk of pushing clogs deeper.
- Preventive maintenance—including extended downspouts (4–6 feet from the foundation), sediment filters on drain inlets, and monthly catch basin inspections—saves homeowners thousands in professional repairs.
- Professional drain camera inspections ($200–400) can detect structural issues early, making them worthwhile for homeowners in areas with heavy leaf drop or clay soil every 3–5 years.
Understanding Your Home’s Outdoor Drainage System
Your home’s outdoor drainage system is typically a network of surface drains, subsurface pipes, and foundation drains designed to move water away from your house and prevent pooling. Surface drains capture runoff from downspouts, patios, and graded surfaces: subsurface systems (often perforated pipe with gravel) sit underground and direct water toward storm drains or a dry well: and foundation or footing drains protect your basement by collecting water around the foundation perimeter.
Most homes have either a storm drain (connected to municipal systems) or a dry well (a gravel-filled pit that lets water percolate into the soil). Some older homes dump directly to daylight drainage, just a pipe outlet downslope. Understanding which system you have is crucial before you start cleaning, because the location and material of your pipes determine how you can safely access and clear them.
Common outdoor drain components include catch basins (underground boxes that collect water), cleanout ports (access points where you can snake or jet lines), and downspout extension pipes. If you’re not sure where your drains go, trace downspout lines from your gutters and follow surface grading patterns. Your utility locator service can also mark underground lines before you dig.
Why Outdoor Drains Get Clogged
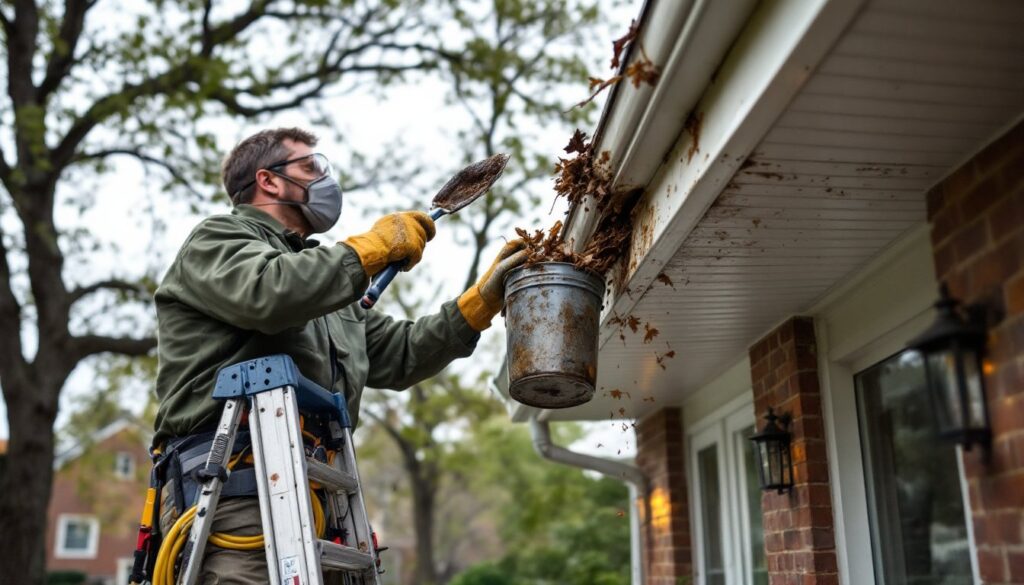
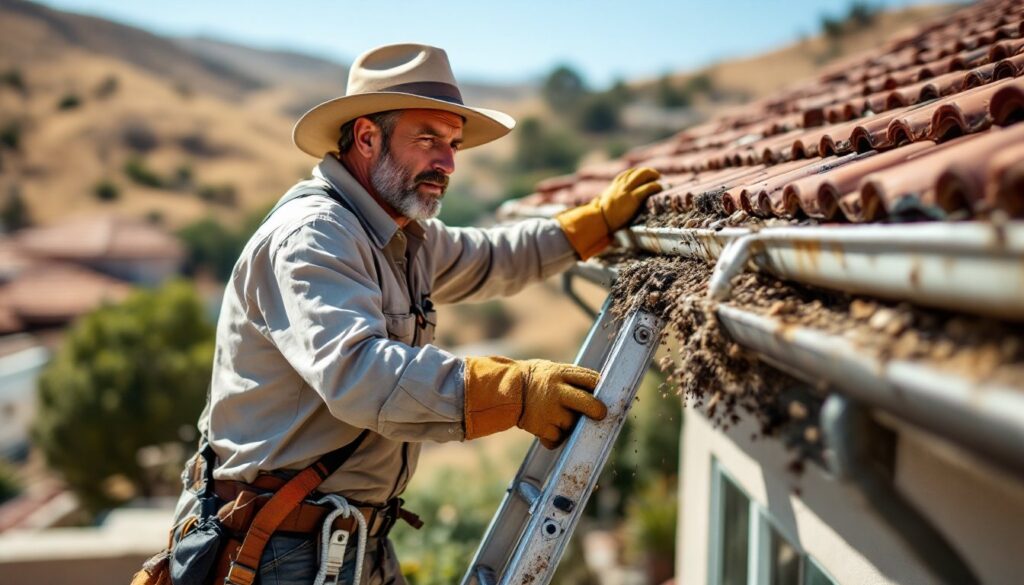
Outdoor drains face a steady assault of debris. Leaves, pine needles, dirt, and sediment accumulate in catch basins and pipes, especially in autumn or after heavy storms. Downspout drains are particularly vulnerable because they’re designed to move high volumes of water quickly, when they fill with gutter sludge or debris, the backup happens fast.
Subsurface drains clog differently. Soil particles, roots (especially if you have trees nearby), and mineral deposits slowly reduce flow. If your soil is clay-heavy, fine particles wash into the perforated pipe and compact over time. In older homes, cast iron or terra cotta pipes may have shifted, cracked, or collapsed, creating low spots where debris settles.
Frozen water, algae buildup in pipes exposed to light, and even small animal nests in downspout extensions add to the problem. The deeper the clog or the more extensive the line, the harder it is to clear with basic methods. This is why downspout cleaning and seasonal gutter maintenance pay dividends, you’re preventing debris from ever reaching the underground pipes in the first place.
When to Clean vs. When to Call a Professional
A clogged catch basin or cleanout that you can access with a drain snake or shop vac? That’s DIY territory. Standing water around the foundation, slow drainage near one downspout, or debris visible in a drain cover? You can likely handle it yourself with basic tools and a couple of hours.
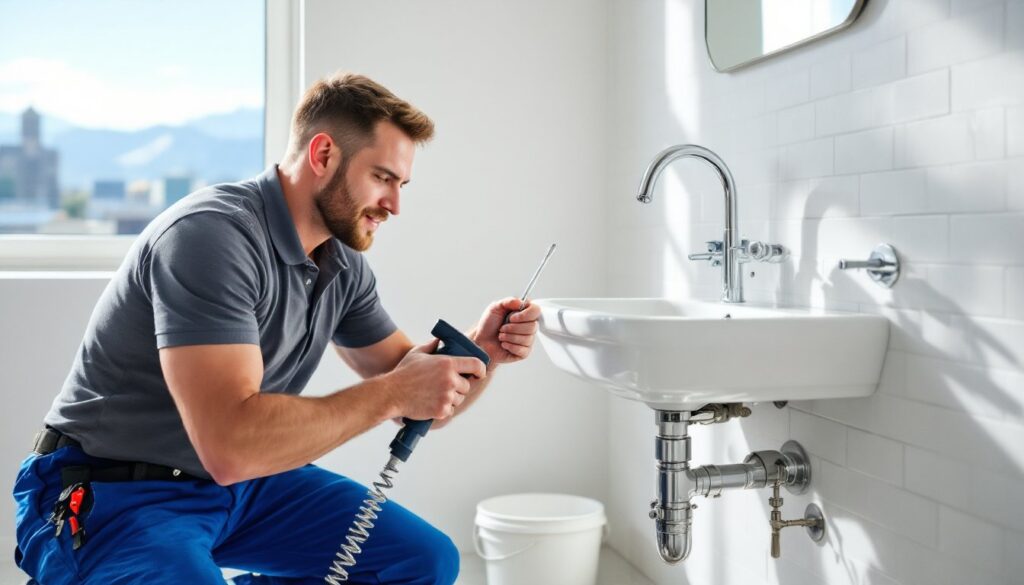
Call a professional if you’re dealing with a main sewer line clog, a backup affecting the entire house, collapsed pipes, or drains you can’t safely access without digging. Also, most municipalities require a permit if you’re digging to repair or replace underground drainage. If your clog returns within weeks, you probably have a structural issue, root intrusion, a break in the line, or heavy silt, that a camera inspection and professional clearing can diagnose.
Many homeowners overlook the value of a cheapest drain cleaning service comparison. Getting quotes from 2–3 local plumbers ensures you’re not overpaying, and a professional video inspection often costs $200–400 but saves thousands if it catches a failing pipe early. Don’t let pride stop you from calling if the job is beyond your tools or experience.
DIY Outdoor Drain Cleaning Methods
Using a Plumbing Snake
A drain auger (plumbing snake) is your first weapon against most outdoor clogs. Manual augers work well for surface drains and short runs: powered augers handle longer lines or tougher blockages. For a typical catch basin or downspout extension, a 25–50-foot manual snake (often called a “toilet auger” or “drum auger”) costs $20–50 and works great.
Steps:
- Locate your cleanout port or drain opening. If you can’t see one, dig carefully to expose the pipe, mark utility lines first with a utility locator service (free in most areas).
- Remove the cover or cap (it may be bolted or stuck: use a pry bar and penetrating oil if needed).
- Feed the snake cable slowly into the pipe, cranking the handle to rotate and push through debris.
- When you feel resistance, crank harder or work the cable back and forth to break up the clog.
- Retract the snake and flush the line with a garden hose to confirm flow.
- Replace the cover and dispose of debris properly.
Safety: Wear work gloves and eye protection. If the line has backed up raw sewage, wear nitrile gloves and a dust mask. Never force a snake through a frozen or severely collapsed pipe, you’ll damage it further.
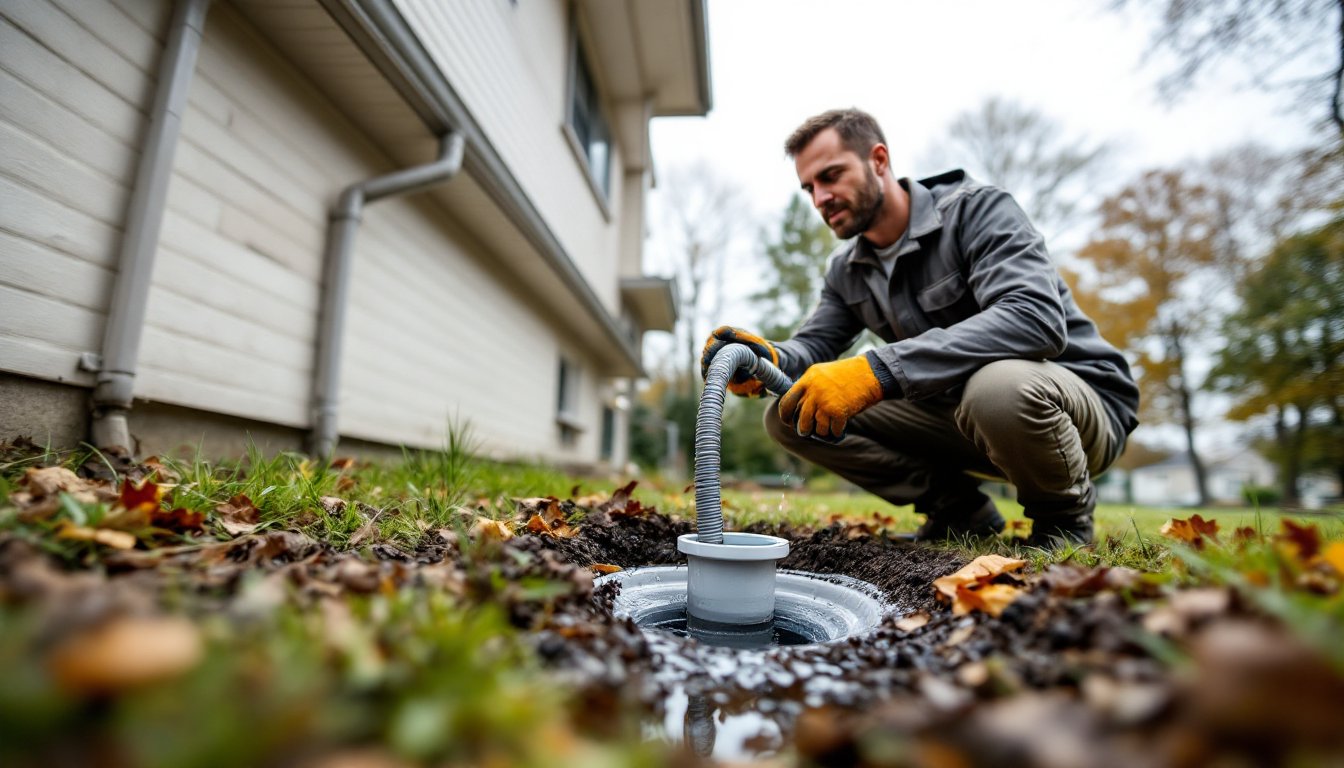
Pressure Washing and Water Jetting
High-pressure water can dislodge debris, mineral deposits, and even light root intrusion if the pipe is strong enough. A pressure washer (2,500–3,500 psi for drains) equipped with a drain-cleaning nozzle can clear surface drains and short pipe runs effectively. This method works best for sediment and leaf clogs, less well for solid blockages or dense root masses.
Basic approach:
- Access the drain from the cleanout port or inlet.
- Insert the drain nozzle (usually a ball with rear-facing jets) into the opening.
- Start at low pressure, then gradually increase, moving the nozzle forward and backward.
- Monitor the outlet for water and debris flow: when it runs clear, you’re done.
- Flush with clean water and replace covers.
Caution: High-pressure water can damage old pipes or expand clogs if misused. Test on a short section first. If the pipe is cast iron, terra cotta, or PVC over 40 years old, use lower pressure or skip this method. A professional drain cleaning service with a truck-mounted jetter (4,000–10,000 psi) is safer for mainlines or unknown pipe materials.
Many DIYers combine both methods: professional drain cleaning guides recommend snaking first to break up debris, then using moderate pressure washing to flush the line clear. This two-step approach reduces the risk of forcing a clog deeper.
Maintenance Tips to Prevent Future Clogs
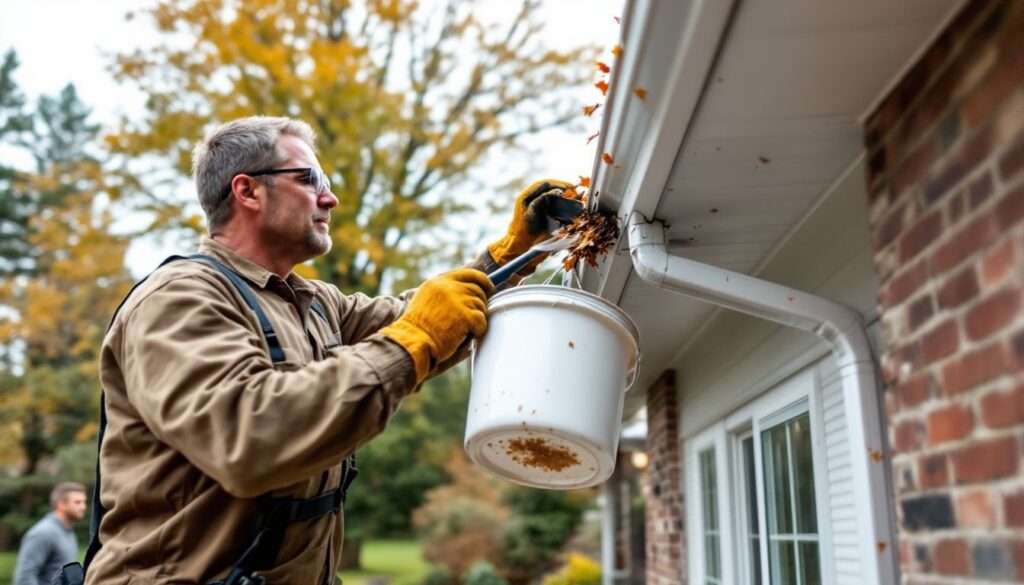
An ounce of prevention beats a pound of clearing later. Clean your gutters and downspouts twice yearly, spring and fall, or more often if you have trees overhead. Debris trapped in gutters doesn’t just clog drains: it rots wood fascia and attracts pests.
Install downspout screens or leaf guards to block large debris before it reaches underground pipes. Extend downspouts at least 4–6 feet away from the foundation (check your local code: some require 10 feet), sloped slightly downward to encourage flow. If you have a dry well or subsurface drain, cover the inlet with a sediment filter or grate that lets water through but blocks leaves and soil.
Inspect catch basins monthly and clear debris manually, it’s a 10-minute job that prevents backups. If you notice standing water in your yard after rain, poor drainage around a patio, or slow clearing of surface water, investigate immediately. Early attention to small problems prevents the foundation-threatening ones.
For homeowners in areas with heavy leaf drop or clay soil, a professional drain camera inspection every 3–5 years can catch structural issues before they become emergencies. Also, complete home improvement guides often include landscape grading tips: ensure your yard slopes away from your house at a rate of at least 1 inch per foot for the first 10 feet.